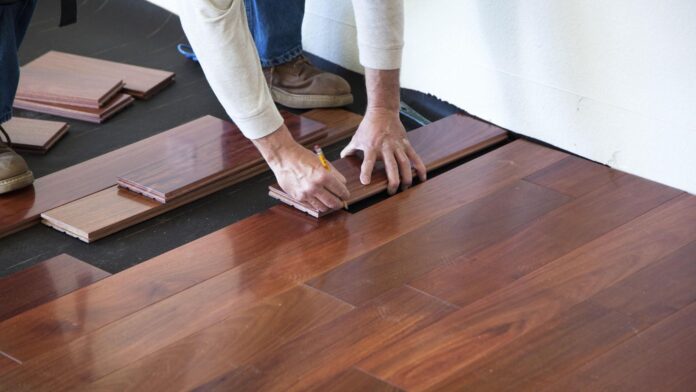
Laminate flooring is now a favored option among homeowners in search of an appealing and long-lasting flooring choice. Whether you’re planning to revamp a room or contemplating a new flooring installation for your recently acquired home, laminate proves itself as a versatile and budget-friendly solution. Within this extensive guide, we’re prepared to guide you step-by-step through the process of skillfully installing laminate flooring in your living space.
Materials:
- Laminate Flooring: Measure your room’s dimensions to determine the square footage needed, and then purchase 10% more to account for waste and cuts.
- Underlayment: An underlayment is a thin foam or felt pad that goes under the laminate planks to provide cushioning, moisture protection, and sound insulation.
- Transition Strips: These are used to cover gaps where the laminate meets other types of flooring or transitions between rooms.
- Baseboards and Quarter Round: You may need to remove and replace or install new baseboards and quarter round to cover gaps along the walls.

Read more.. Transforming Dreams into Reality: The Influence of 3D Interior Rendering
Tools:
- Tape Measure: For accurate measurements.
- Carpenter’s Square: To make straight cuts.
- Utility Knife: For cutting laminate planks and underlayment.
- Table Saw or Circular Saw: These are essential for making straight cuts on the laminate planks.
- Jigsaw: Used for cutting curved or irregular shapes.
- Spacers: To maintain an expansion gap around the edges of the room.
- Tapping Block and Pull Bar: These tools help with connecting the planks and tapping them into place.
- Safety Gear: This includes safety glasses and knee pads for your protection.
Step 1: Prepare the Subfloor
An essential element for achieving a flawless laminate flooring installation is guaranteeing that the subfloor remains impeccably clean, level, and completely dry. The meticulous process includes the removal of any pre-existing flooring materials, addressing any irregularities or damages, and meticulously following the manufacturer’s guidelines to properly lay down the underlayment, ensuring it blankets the entire floor surface.
Step 2: Plan the Layout
Start planning the layout by determining the direction in which you want the laminate planks to run. In most cases, it’s best to lay them parallel to the longest wall in the room, but you can choose based on aesthetics and the room’s dimensions. Use spacers to create an expansion gap of around 1/4 inch along the walls.
Step 3: Install the First Row
Begin in a corner of the room and lay the first row of laminate planks with the tongue side facing the wall. Use a tapping block to ensure the planks fit tightly together and a pull bar to secure the end joints. Remember to stagger the seams, ensuring they are at least 12 inches apart for a more stable floor.

Read more.. The Effect of 3D Printing Innovation on Auto Assembling Cycles
Step 4: Continue Installing Planks
As you move on to subsequent rows, use the cut-off piece from the previous row to start the new row, ensuring a staggered pattern. Cut planks as needed to fit around doorways and other obstacles, using a jigsaw for curved cuts or irregular shapes.
Step 5: Complete the Installation
Continue installing rows of laminate planks until you reach the final row. Measure and cut the planks to fit, ensuring that the last row is at least 1/4 inch away from the wall. This gap will be concealed by baseboards or quarter round.
Step 6: Install Transitions and Trim
Once the laminate flooring is in place, install transition strips where the laminate meets other types of flooring or transitions between rooms. Finally, reinstall or install new baseboards and quarter round to cover the expansion gap and provide a finished look.
Step 7: Clean and Enjoy
After completing the installation, clean the floor to remove any debris or adhesive residue. Your laminate flooring is now ready to be enjoyed for years to come.
Read more.. Elevate Your Haven: Crafting a Luxurious Bedroom Retreat with Simple Interior Design


